Table of Contents
ToggleTorn, sagging, or rusted window screens don’t just look bad, they let in bugs, reduce airflow, and make your home feel dated from the outside. Replacing window screens is one of those satisfying weekend projects that instantly upgrades both function and curb appeal. Most homeowners can tackle a full-house screen refresh in an afternoon with basic tools and minimal expense. Whether you’re dealing with fiberglass mesh that’s seen better days or aluminum screening with bent frames, this guide walks through everything needed to measure, cut, install, and secure new screens like a pro.
Key Takeaways
- Window screens replacement is an affordable weekend DIY project that costs $3–$8 per screen in materials and instantly improves both curb appeal and bug protection.
- Fiberglass is the most practical choice for standard window screen replacement due to its affordability and ease of installation, though aluminum offers better longevity and pet-resistant screening resists claw damage.
- Proper screen replacement requires measuring with 2–3 inches of overhang, using a spline roller to secure screening taut, and trimming excess carefully with a sharp utility knife.
- Damaged window screens compromise ventilation and allow mosquitoes, flies, and pollen indoors, making replacement especially important during spring and summer months.
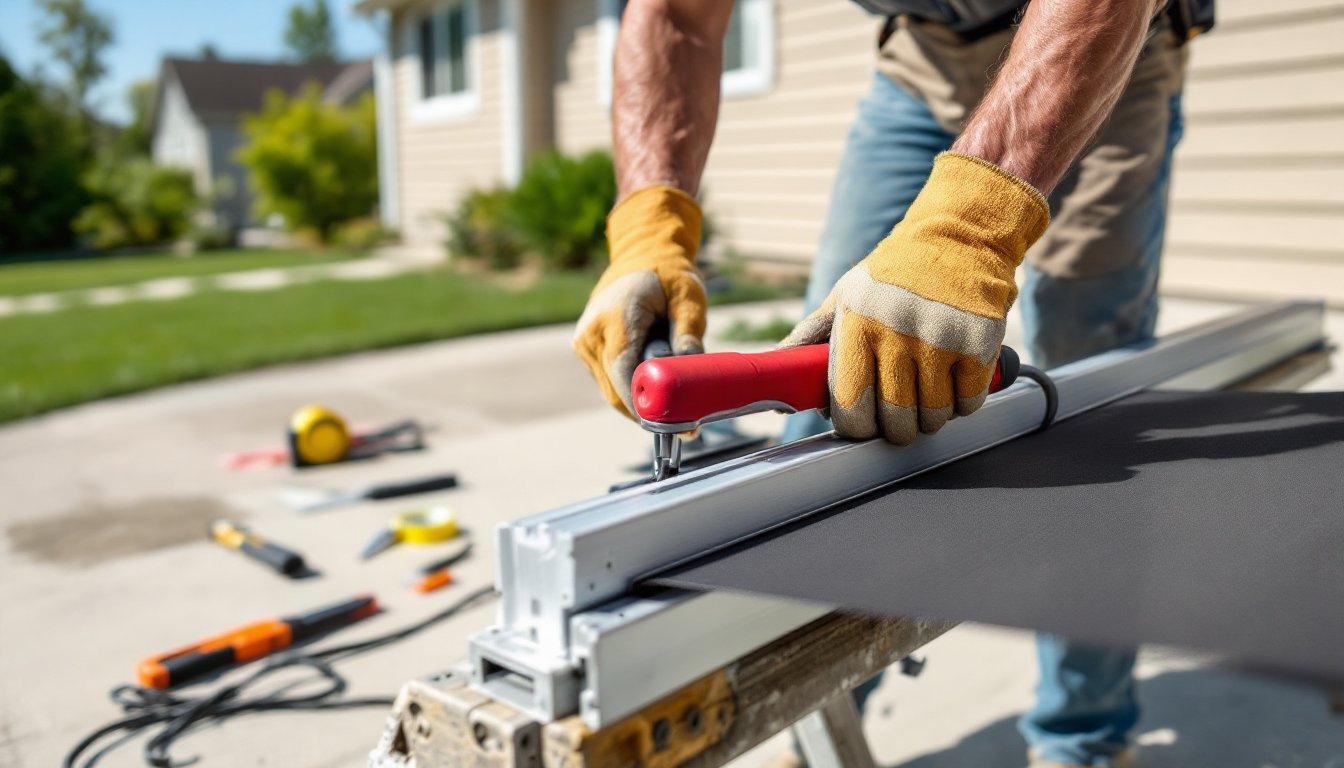
- Working on a flat, clean surface in moderate temperatures (60–80°F) and maintaining consistent tension when rolling the spline prevents sagging and ensures a professional-quality result.
Why Replace Your Window Screens?
Window screens take a beating. UV exposure degrades fiberglass mesh over time, leaving it brittle and prone to tears. Aluminum screening develops oxidation and small punctures from branches, hail, or the occasional bird strike. Pet claws shred standard mesh in seconds.
Beyond aesthetics, damaged screens compromise ventilation. Gaps let mosquitoes, flies, and gnats infiltrate living spaces, defeating the purpose of opening windows for fresh air. Torn screening also allows pollen and larger debris indoors, worsening allergies and creating extra cleaning work.
Replacing screens before selling a home is a low-cost, high-impact fix. Buyers notice details like intact screening during walkthroughs, and fresh screens signal well-maintained property. For current residents, new screens mean better bug protection during spring and summer months when windows stay open.
Most window screening replacement jobs cost between $3–$8 per screen in materials, depending on mesh type and frame size. Professional installation runs $25–$75 per screen according to HomeAdvisor, but DIY saves significantly and requires no special skills. The payoff in improved comfort and appearance far outweighs the minimal investment.
Types of Window Screen Materials and Which to Choose
Choosing the right window mesh replacement material depends on climate, budget, and household needs. Each screening type has distinct durability, visibility, and airflow characteristics.
Fiberglass vs. Aluminum vs. Pet-Resistant Screens
Fiberglass screening is the most common choice for home window screen replacement. It’s flexible, affordable, and easy to work with during installation. Standard 18×16 mesh (18 strands per inch horizontally, 16 vertically) balances airflow and insect protection. Fiberglass won’t dent like aluminum and resists corrosion in humid climates. But, it tears more easily than metal and degrades under intense sun after 10–15 years. Expect to pay $0.10–$0.25 per square foot.
Aluminum screening offers superior durability and a crisper appearance. It won’t sag over time and holds tension better in larger frames. The downside: aluminum dents on impact and can oxidize in coastal or high-moisture environments, leaving gray streaks on window sills. It’s slightly harder to cut cleanly than fiberglass. 20×20 mesh aluminum is standard. Cost runs $0.20–$0.40 per square foot.
Pet-resistant screening (often vinyl-coated polyester like Phifer Pet Screen) is seven times stronger than standard fiberglass. It resists claw punctures and won’t tear when cats or dogs press against it. The trade-off: reduced visibility and airflow due to thicker strands. Pet screening costs $0.50–$1.00 per square foot but pays off for households with active pets.
Solar screening reduces heat gain by blocking 65–90% of UV rays while maintaining outward visibility. It’s ideal for south- or west-facing windows in hot climates but darkens interiors slightly. Specialty screens like this typically cost $1.00–$2.00 per square foot.
For most DIYers tackling standard window replacement screens, fiberglass is the practical starting point. Upgrade to aluminum for longevity or pet-resistant for durability in high-traffic areas.
Tools and Materials You’ll Need for Screen Replacement
Gathering the right tools before starting saves trips to the hardware store mid-project. Most items are inexpensive and reusable for future screen jobs.
Materials:
- Replacement screening (fiberglass, aluminum, or pet-resistant, sized to cover all frames with extra margin)
- Spline (rubber cord that holds screen in the frame channel: measure existing spline diameter, common sizes are 0.160″, 0.175″, or 0.250″)
- Screen frame (if frames are bent or corroded beyond repair: sold in linear feet of aluminum extrusion at home centers)
Tools:
- Spline roller (concave wheel for pressing spline into channel: convex wheel for creasing screen)
- Utility knife with fresh blades
- Tape measure
- Flathead screwdriver or screen removal tool (for prying out old spline)
- Scissors or tin snips (for trimming screening)
- Work surface (sawhorses, folding table, or clean garage floor)
Optional but Helpful:
- Screen frame clamps (hold frames square while working)
- Putty knife (for removing stubborn old spline)
- Marker or chalk (for marking cut lines on screening)
Most hardware stores sell screen repair kits bundling spline, roller, and a small patch of screening for $10–$15, useful for first-timers or single-screen repairs. For multi-screen projects, buying materials separately is more economical. A 100-foot roll of fiberglass screening and 25 feet of spline typically handles 8–12 standard windows.
Safety note: Wear work gloves when handling aluminum screening to avoid cuts from sharp edges. Safety glasses protect eyes when trimming spline or cutting frames.
Step-by-Step: How to Replace a Window Screen
Replacing a window screen involves four main phases: removing the old screen, measuring and cutting new material, securing it with spline, and trimming excess. Work on a flat, clean surface to keep frames from warping.
1. Remove the old screen and spline.
Pop out the window screen frame from the window opening (most lift out or have release tabs). Lay the frame flat. Use a flathead screwdriver to pry up one end of the spline in the frame channel, then pull the entire spline loop out. The old screening will lift away. Inspect the frame for bends, cracks, or corrosion, minor bends can often be straightened by hand: badly damaged frames should be replaced.
2. Clean the frame channel.
Remove any debris, old spline fragments, or built-up grime from the channel groove with a utility knife or putty knife. A clean channel ensures the new spline seats properly and holds tension.
Measuring and Cutting Your New Screen
3. Size your replacement screening.
Roll out the new screening over the frame, leaving 2–3 inches of overhang on all sides. This excess allows you to pull the screen taut during installation without running short. Don’t cut precisely to size yet, trimming happens after the spline is installed.
4. Align and secure one corner.
Position the screening so the weave runs parallel to the frame edges (not on a diagonal). Press the screening into one corner of the channel using the convex wheel of the spline roller or your fingers. This anchors the material and prevents shifting.
Installing the Spline and Securing the Screen
5. Roll in the spline.
Starting at a corner, lay the spline over the screening in the channel. Use the concave wheel of the spline roller to press both spline and screening into the groove. Work along one long side first, applying firm, steady pressure. Pull the screening taut (but not so tight it bows the frame) as you go.
At each corner, fold the spline into the channel without cutting, one continuous loop holds best. Experienced installers often work opposite sides sequentially (top, then bottom, then sides) to maintain even tension. Beginners can work around the perimeter in one pass.
6. Trim excess screening.
Once the spline is seated all the way around, use a utility knife to cut away the excess screening. Run the blade along the outer edge of the spline channel, angling slightly outward to avoid cutting into the spline itself. Fresh blades make cleaner cuts and reduce fraying.
7. Reinstall the screen.
Pop the frame back into the window opening, checking that it seats flush. Some frames use pull tabs or spring clips: others drop into channels on the window track.
Pro tips:
- If the screening sags after installation, the spline may be too small. Go up one diameter size for a tighter fit.
- Work in moderate temperatures (60–80°F). Screening contracts in cold and stretches in heat, affecting tension.
- For large frames (over 36 inches), consider having a helper hold the opposite end taut while you roll the spline.
For detailed visual walkthroughs on screen replacement techniques, many homeowners find step-by-step photo guides helpful.